Management Console
DJL Serving console is a DJL model server management platform that can achieve model management, log management, dependency management, configuration management and so on. It makes it easier for users to use DJL model server. We will provide the following basic functions:
- Model Management
- Model List
- Model Registration
- Model Uninstall
- Model Modification
- Model Inference
- Log management
- Log List
- Log Details
- Log Download
- Dependency management
- Dependency List
- Add Dependency
- Delete Dependency
- Configuration Management
- Restart the Service
Model Management
Users can register models through a friendly interface, view the status of all models in the system and the details of each model, and perform advanced configuration operations such as bacth_size adjustment and equipment expansion on the model on the details page. The model inference interface provides functions such as file upload, text input, and custom headers to edit input data. For model output, the inference interface can also directly display general output format such as images and json, as well as download other streaming data files.
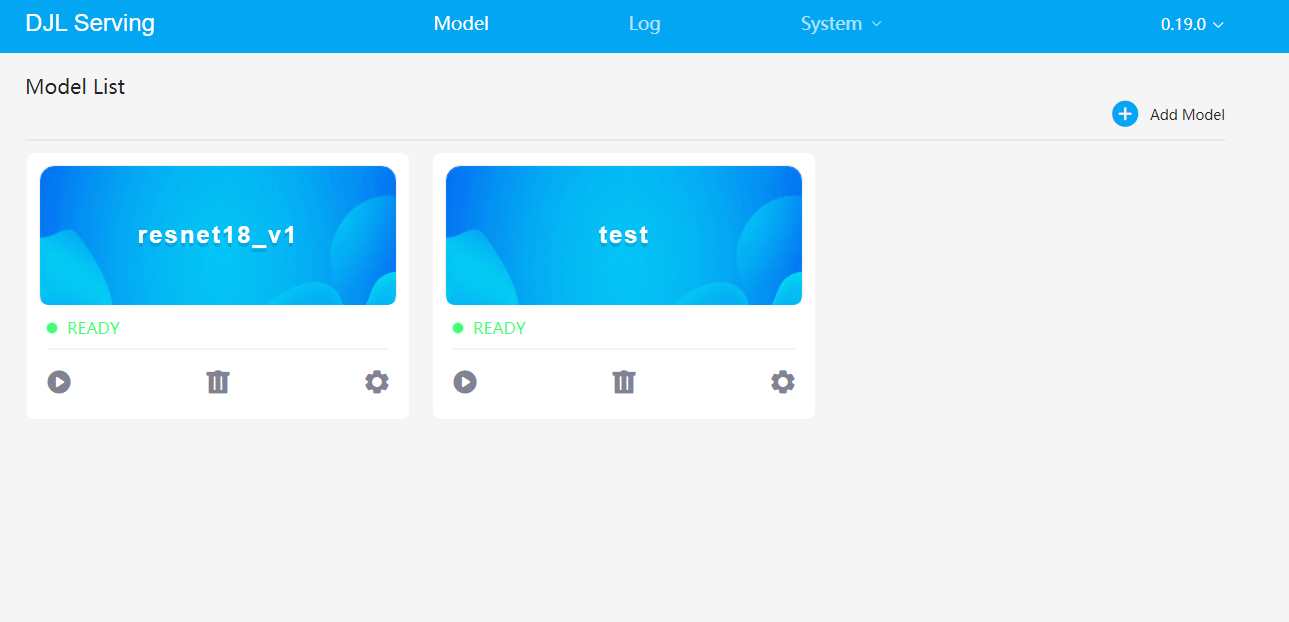
Model List
The model list displays the model name, model version number, model status, and some common operation buttons of the model (Inference, Uninstallation, Modification), which is convenient for users to manage all models in a unified view.
Model Registration
You can enter the model registration page through the Add Model button on the homepage. You can specify the model url, model_name, version, engine to quickly register the model. The console provides two methods of text input and file upload to specify the model url. You can enter the online model address, you can also enter the local model address, and you can upload the locally packaged model zip file.
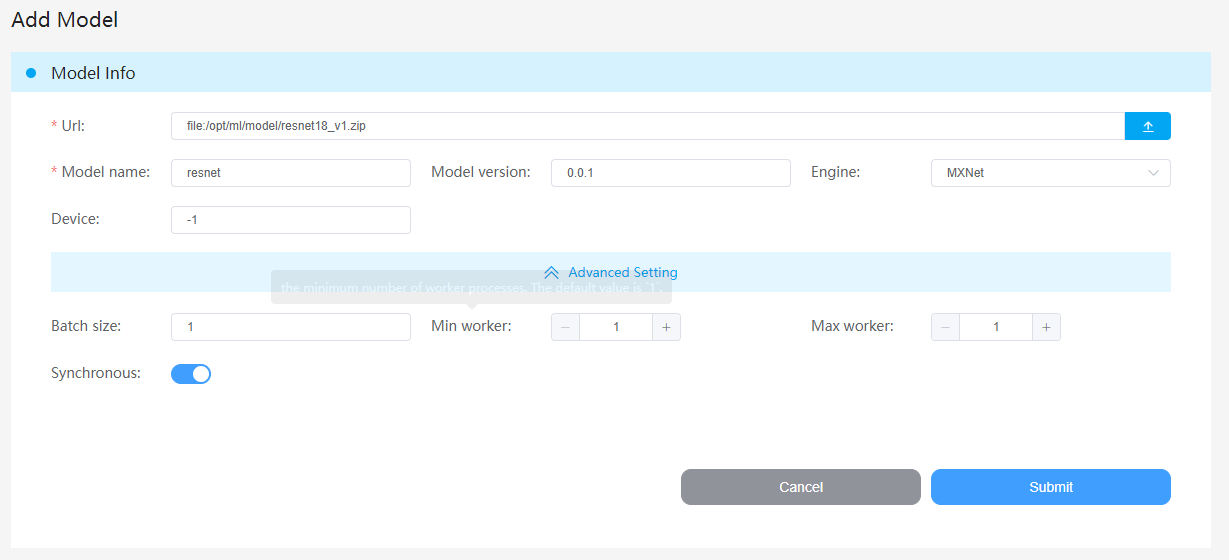
In the advanced settings, you can set the batch_size, min_worker, max_worker of the model.
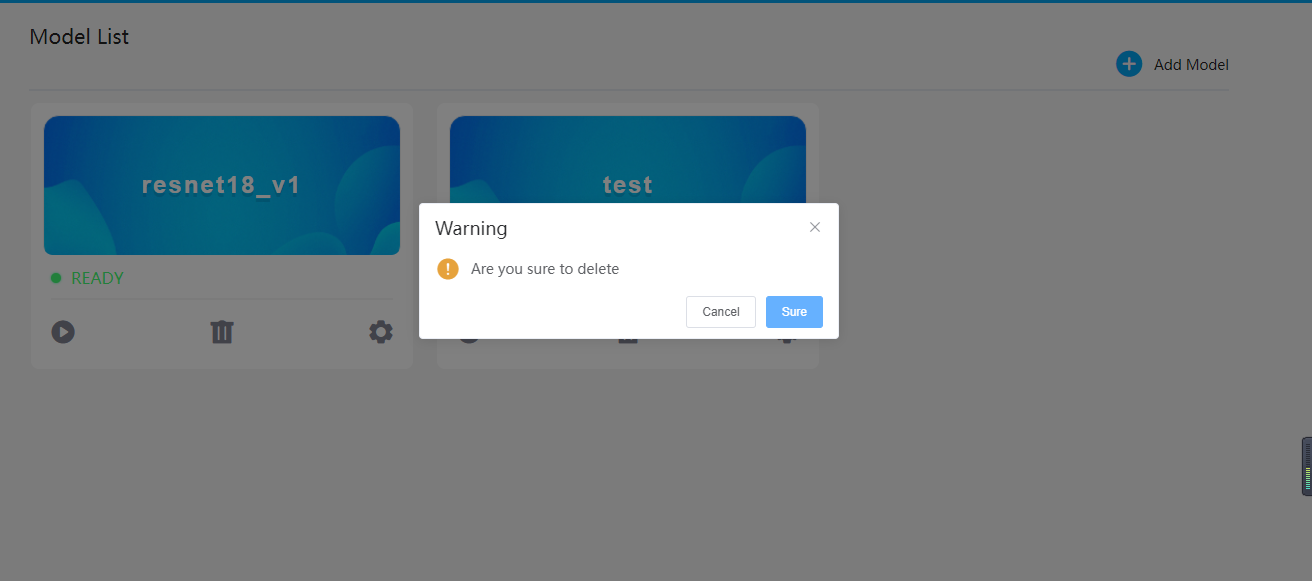
Model Uninstall
When the registered model has an error and needs to be deleted, you can click the Delete button in the Model List . After confirming, you can uninstall the model that failed to register.
Model Modification
After the model is registered successfully, if you need to adjust the parameters of the model, you can click the  button to enter the model modification page, adjust the model
 batch_size, min_worker, max_worker and Device. In the Worker Groups interface, you can also view the health status and device type of each worker.

Model Inference
 The inference button is located on the left side of the operation bar under the model area in the model list. In the model inference interface, It is divided into two parts: input data and input results.
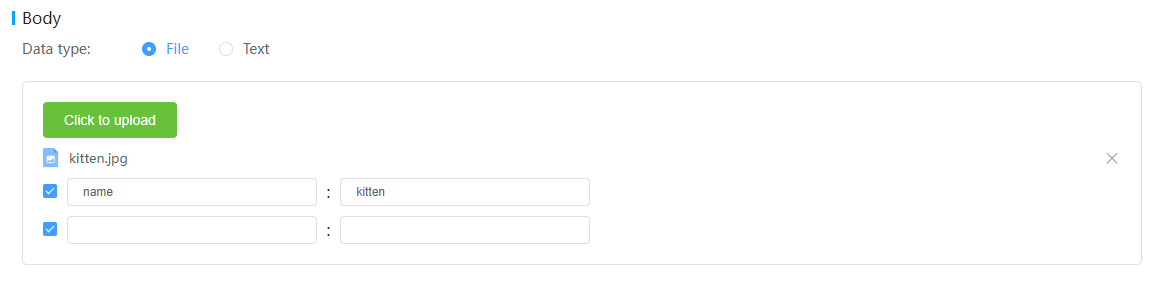
The input data is divided into Headers and Body parts, you can customize the header of the message according to your needs, such as Accept, Content-Type;
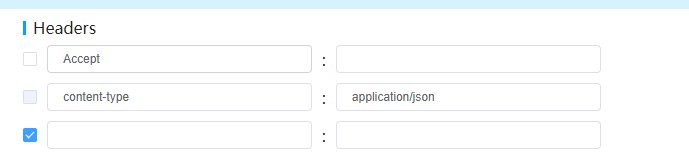
In the Body part, the console provides two ways to edit the message body data: File upload and Text input. The file upload mode also provides a text box for customizing the parameters of the form, which can be customized according to your needs.
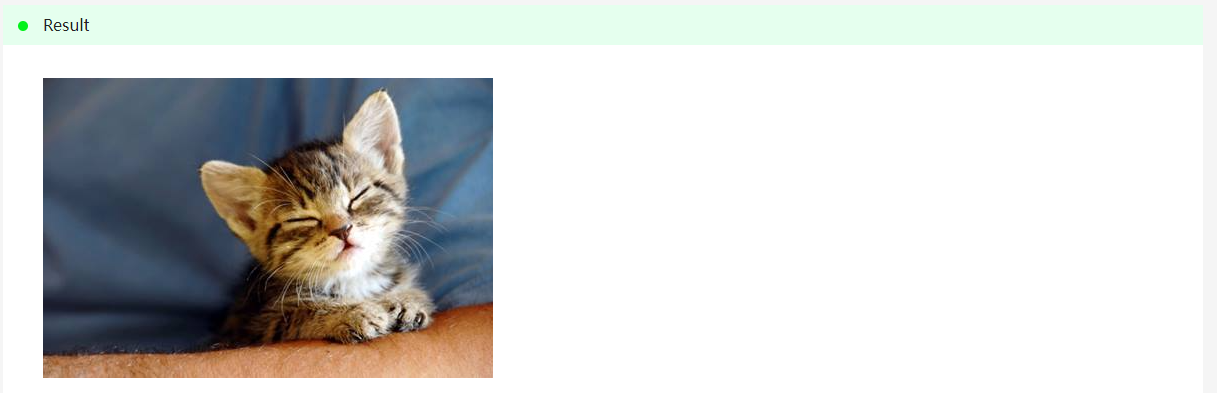
The Result area is mainly used to display model output or error messages. If the Content-type of the output data is image/, the page will directly display the image content; if the Content-type of the output data is application/json, the page will directly render the formatted json text; if it is some other types of file, the page will download the file.
Log Management
Users can directly view the system real-time log on the console, instead of going to the server to view the log through the command line, which greatly reduces the workload of checking the log.
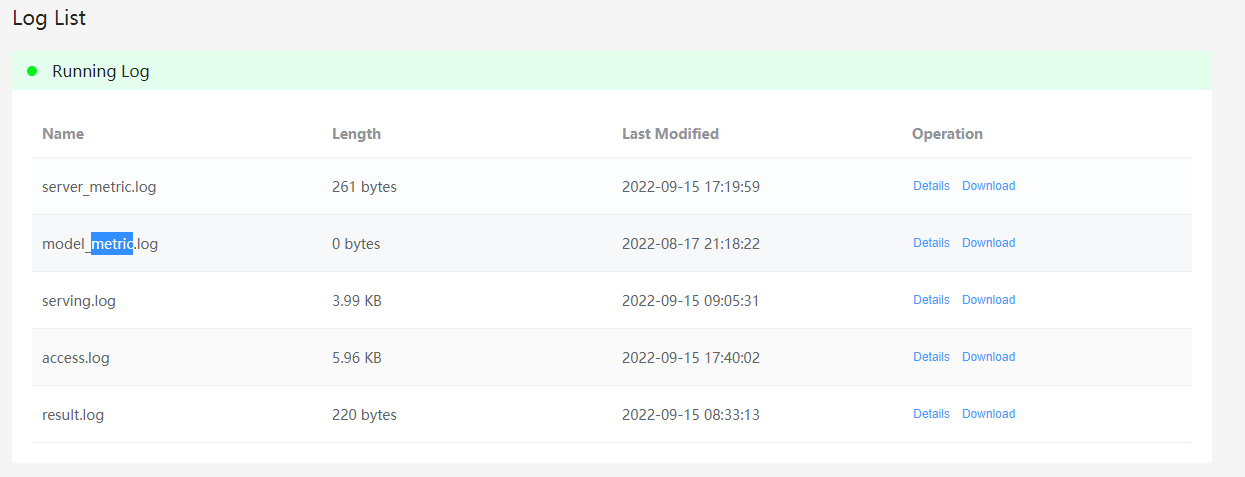
Log List
Enter through Log in the homepage navigation bar, and the list will display real-time logs such as system logs, access logs, and model logs.
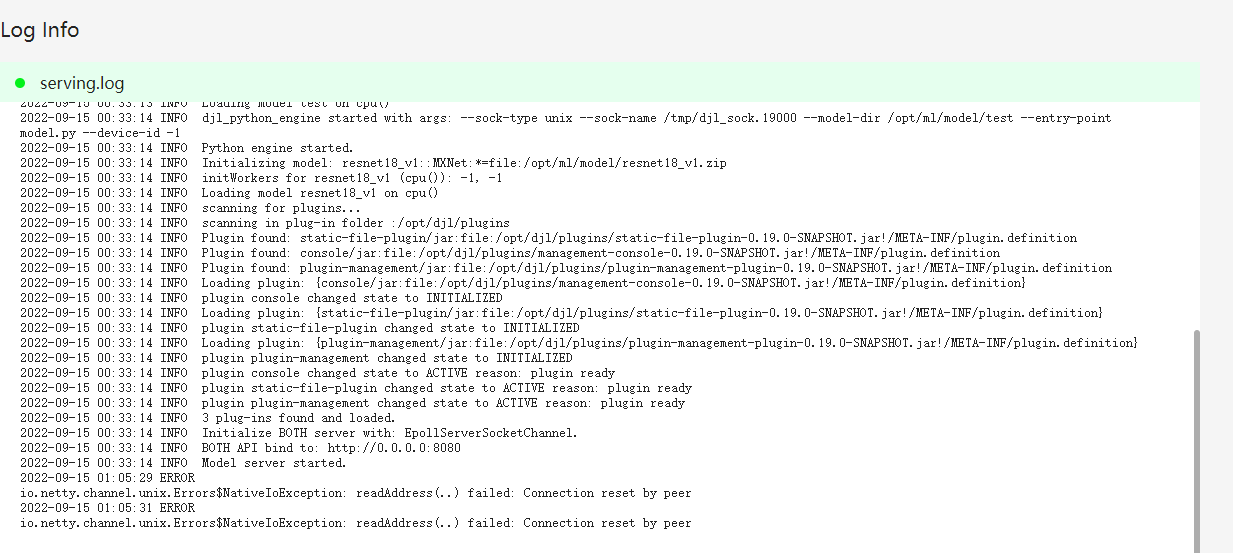
Log Details
Enter the log details page through the Details button in the log list, and the console will display the latest 200 lines of log data.
Log Download
In addition to viewing logs on the page, the console also provides a log download function, allowing users to view all logs of the day.
Dependency Management
The console provides users with a management interface to view the added third-party dependent jar packages or engine-related dependencies. Users can also add or delete dependencies through this management interface.
Dependency List
Enter the list interface through the second-level menu Dependency under System in the homepage navigation bar, and the interface shows that the dependent jar file has been added.
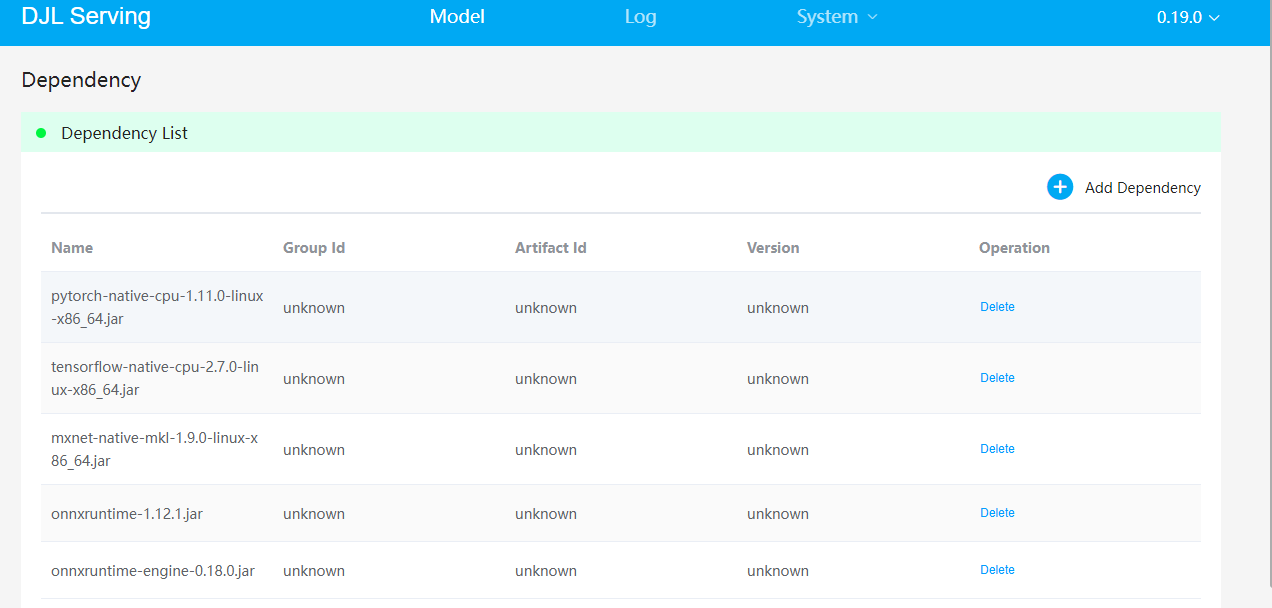
As shown in the figure, the current server has loaded the relevant dependencies of pytorch, tensorflow and other engines.
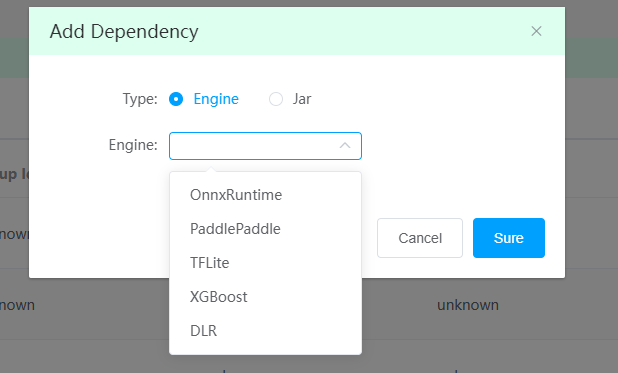
Add Dependency
The entry is the Add Dependency button. The console provides two ways to add Engine and Jar. To add dependencies of related engines, just select the corresponding engine name to download the related dependencies and load them into the server.
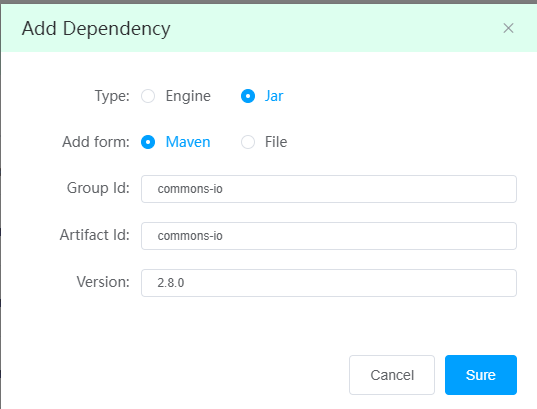
If you want to add some third-party jar packages on the public repository, you can select Maven in the Add form, fill in the relevant Maven coordinate information, and the server will automatically download the jar package from the Maven public repository and load it.
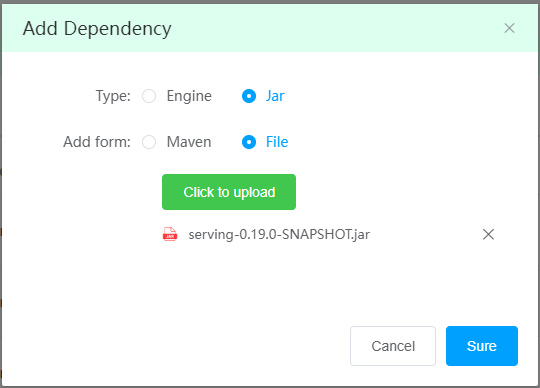
In addition to the above two methods, users can also upload their own jar packages to the server
Delete Dependency
In the dependency list interface, each dependency data will have a Delete button. After clicking, the server deletes the specified jar file. At this time, the server does not uninstall the relevant dependencies. Restart the server to make the changes take effect.
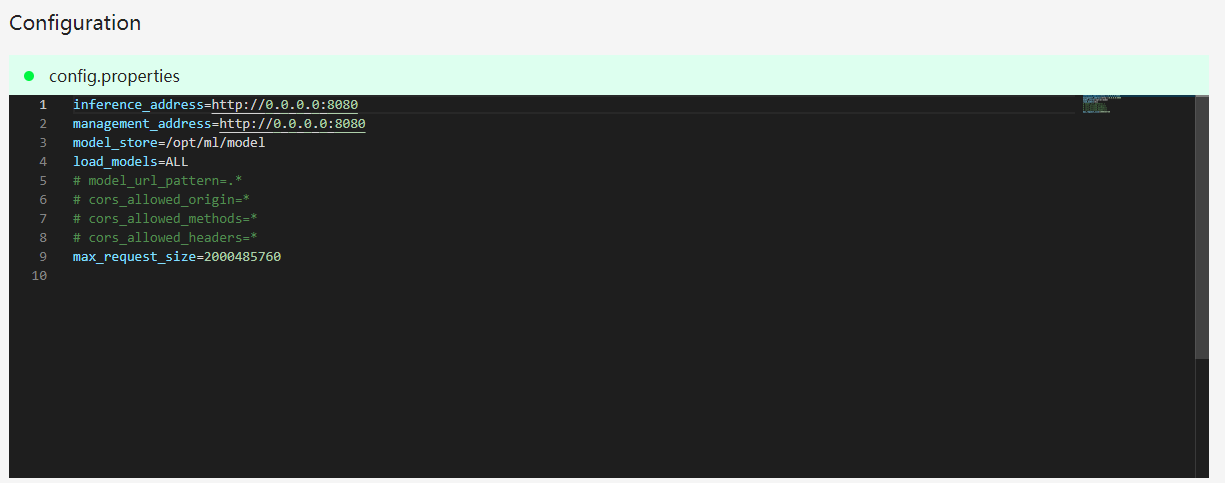
Configuration Management
The console provides a vscode-style online editor. When editing config.properties, you can modify the server's max_request_size, request cross-domain and other configurations. After the modification is saved, the configuration will take effect after restarting the server.
Restart the Service
After the user modifies the configuration, the server needs to be restarted to take effect. The console also provides the function of restarting the server. Click Restart in the drop-down menu in the upper right corner of the homepage, and the console will send a restart command to the server to restart the service. It only takes less than 10 seconds to complete restarting the server. The restart function only supports Docker environment
