Model Serving on AWS BeanStalk EC2
Overview
DJL makes it easy to deploy your deep learning models on AWS Beanstalk. Deploying on AWS Beanstalk is beneficial where there are low latency requirements for all inference requests that can happen at any time. The cost on the other hand will be higher when compared to using a serverless like lambda because the EC2 instance that is hosting this will be running all the time. Beanstalk also provides other capabilities such as load balancing, if you want to host more instances and your model is expected to be used by many users.
Prerequisites
Make sure you have an AWS account with AWS Beanstalk.
Make sure Java is setup and installed on your machine.
Have something like Postman to make the call to your endpoint.
Setup
Run the following command to build the project.
cd beanstalk-model-serving

# for Linux/macOS:
./gradlew build

# for Windows:
..\..\gradlew build
This will create a packaged jar file in
build/libs/beanstalk-model-serving-0.0.1-SNAPSHOT.jar
Run and test locally
Use the following command to run the application locally:
# for Linux/macOS:
./gradlew bootRun

# for Windows:
..\..\gradlew bootRun
The application will be listening on localhost 5000 port(Elastic Beanstalk expect port 5000),
you can open your browser and navigate to http://localhost:5000 to try it out.
You can also you curl command to test the application's REST API.
You can get a Smiley Face picture for testing:

curl -O https://raw.githubusercontent.com/deepjavalibrary/djl-resources/master/demo/beanstalk-model-serving/images/smiley.png
curl -X POST -T smiley.png http://localhost:5000/doodle

[
  {
    "className": "smiley_face",
    "probability": 0.9874626994132996
  },
  {
    "className": "face",
    "probability": 0.004804758355021477
  },
  {
    "className": "mouth",
    "probability": 0.0015588520327582955
  }
]
Deploying
You can use the following command line to deploy to your AWS Elastic Beanstalk:
# for Linux/macOS:
./gradlew deploy

# for Windows:
..\..\gradlew deploy
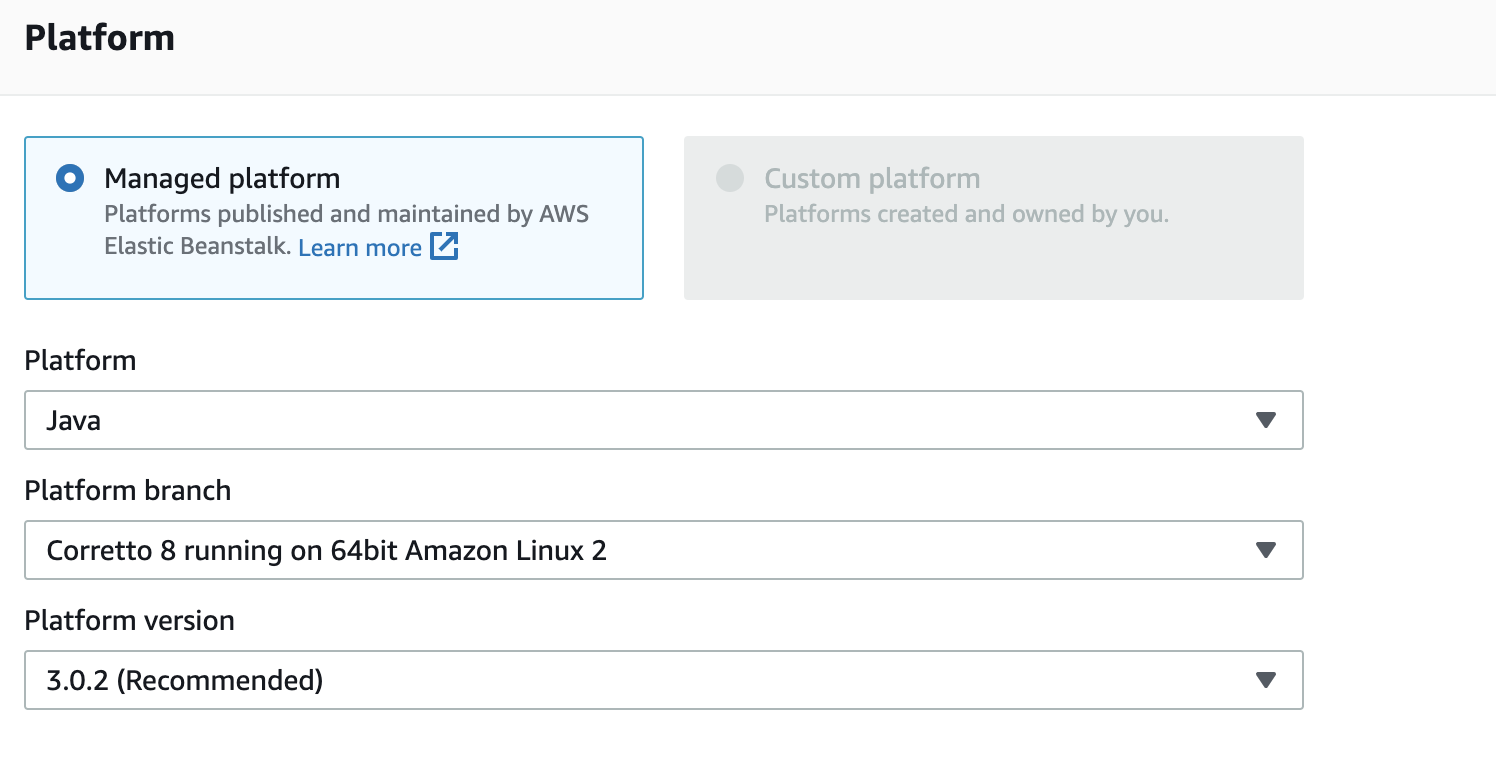
Alternatively you can create a new environment with the AWS BeanStalk Console. Give you application a name. Set the platform to these options for this example:
When selecting your Application Code, select the "choose file" option and upload the jar that was created in:
build/libs/beanstalk-model-serving-0.0.1-SNAPSHOT.jar
Then hit the Create Environment button.
Once the environment is created, you may want to change the instance used to t2.small for a little more memory for our model.
Now you can classify your images using AWS Beanstalk!